
From this pop-up window you can configure:
General:

Autosave: You can activate the autosave feature. Disable this option when the show is playing.
Auto backup: Allow to trigger an automatic backup. Define the recurrence of the auto backup.
Interfaces:
![]()
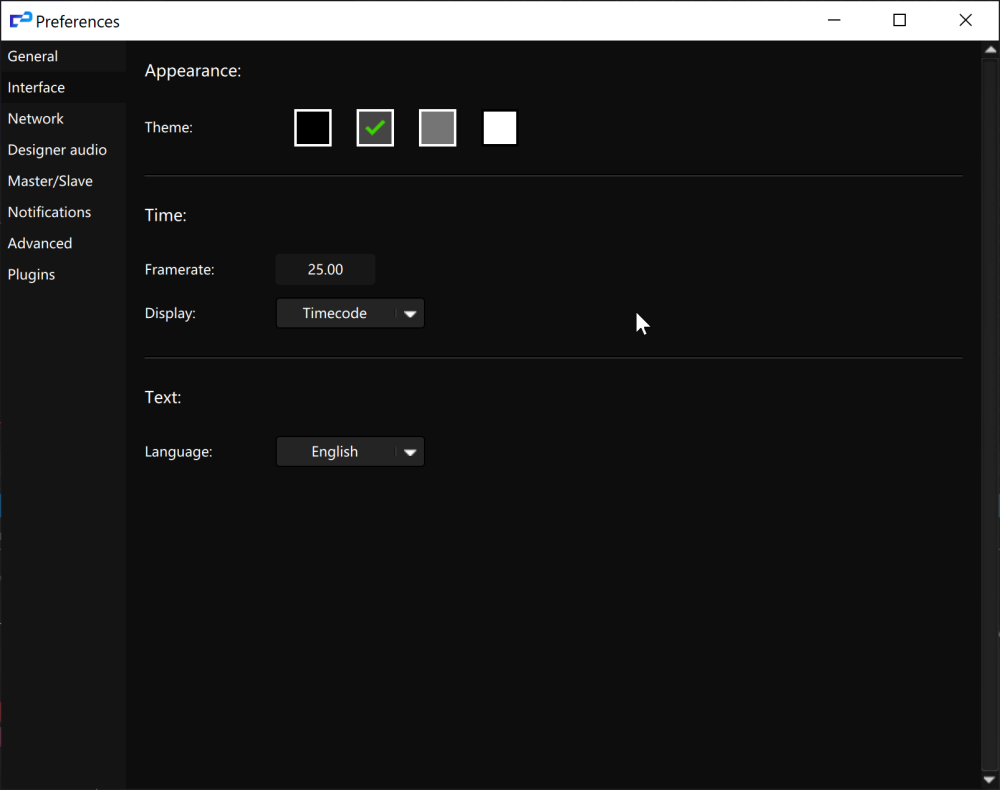
Theme: Select a (color) theme for your Kinetic Designer interface.
Time: Choose the display framerate on the user interface (no interaction with playback framerate) and if you want to display time in HH:MM:SS:FF or in frames.
Language: Choose the language for the user interface (only English available at this time).
Network:

Network adapter for Modulo: Select a Network adapter for Modulo Kinetic Designer and all Modulo Kinetic VNodes.
Network adapter for Devices: Select a Network adapter for Devices connected to your Modulo Kinetic Designer.
Network adapter for DMX : Select a Network adapter for DMX devices connected to your Modulo Kinetic Designer.
Network adapter for Master /Slave: Select a Network adapter for the Master/Slave Modulo Kinetic Designer.
Designer Audio:

Enable Audio output from Kinetic Designer, if you want to playback audio from the Kinetic Designer.
Audio renderer: Choose the audio renderer : MME for basic audio cards and ASIO for pro audio soundcards.
Sample rate: You need to choose the sample rate for all your projects. All audio files need to match with this sample rate.
Sound card: You can force the selection of a sound card. If you don’t want, choose default instead.
Latency: Choose the audio latency. Generaly it’s better to use max to avoid any sound issue.
Master Slave:

If your Kinetic Designer is a spare server, enable Auto Connect to Server: that way, the spare server will follow the Master, when it detects a freeze equal to the number of seconds specified in Time Detect freeze, the spare will become Master.
NB: Time detection freeze in seconds should be relatively long to prevent the detection of a false freeze.
Notifications:

You can setup the email notifications in this panel.
You need to create an email account that you will use to send emails to.
SMTP server: Enter the SMTP server address provided by your email provider.
Choose the correct port and the encryption method following the instructions of your provider.
Name: The name you use when sending emails
User-Password: The login and password you use to connect to your email server to send the email
To: List the recipients email addresses. Make sure you separate them with “ ; “. The recipients are the people who will receive the email notifications
Object: Title of the email notification (for example the location of your installation)
Check “enable email notification” to enable the automatic sending of email notifications.
If you check “Notify when computer starts”, each time the server starts, an email indicating your media server has started will be sent to the recipients listed in the “TO” field.
For some notifications, you can adjust the value.
For instance, you can set up a temperature limit for the “Notify when GPU overheats” mode.
When the GPU reaches the set limit, an email notification indicating that your GPU is overheating is sent to the recipients list.
You can send emails with the “Modulo Kinetic” device.
The same email account and settings will be used to send this email.
For instance, you can use it to launch a task at each loop of the show to check that the show is playing, sending an email to your customer.
Advanced:
Real time refresh: wait interval between graph, devices, digimap, task. 10ms is the default value.
Visual refresh: Choose if you want a slow or fast refresh of your preview and 3D view. Use a fast refresh if you use the Modulo Kinetic Designer for simulation, and use normal refresh when you are using the Modulo Kinetic Designer to control Modulo Kinetic Vnodes.
Show designer fps: Display the FPS in the preview and 3D view.
Log level: Allows to log information. Disable the log level (NONE) unless Modulo Pi support team ask you to change this settings.
Optical tracking enable: Allows you to disable the tracking module (only one Modulo Kinetic Designer can have the control on optitrack cameras).
Plugins:
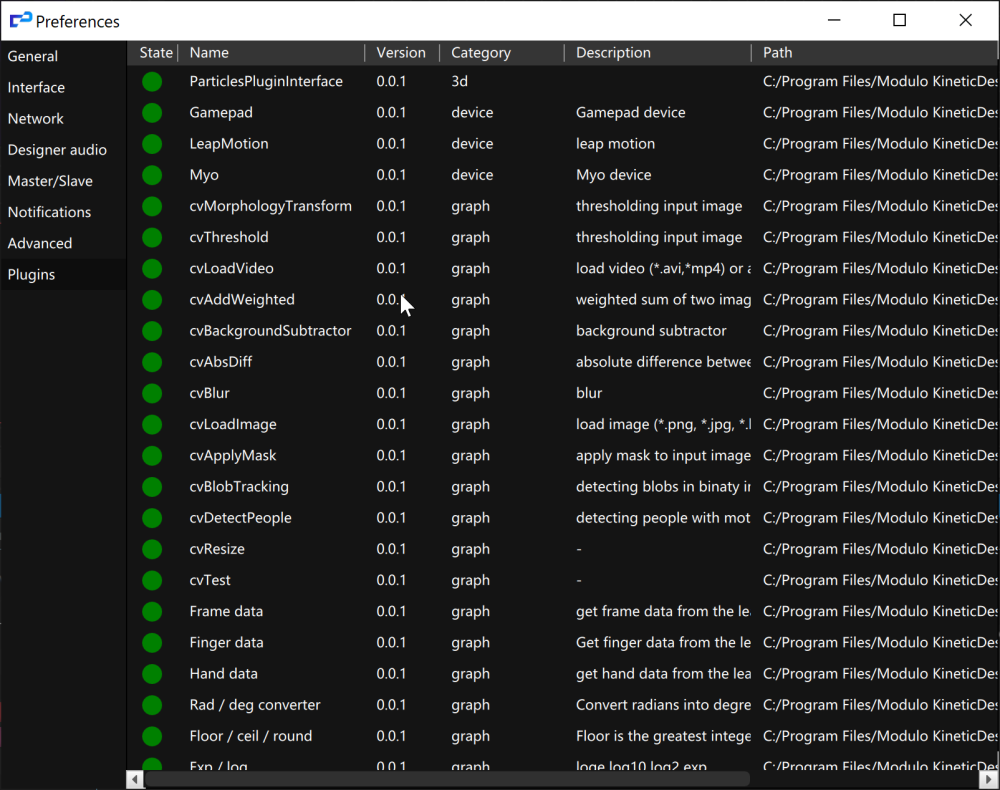
Display the list of available plugins.
Need more help with this?
Don’t hesitate to contact us here.