
We will now add a video projector to our setup, and use it to project content on the LED point we track.
To achieve that, we need to calibrate the video projector physical position into the stage.
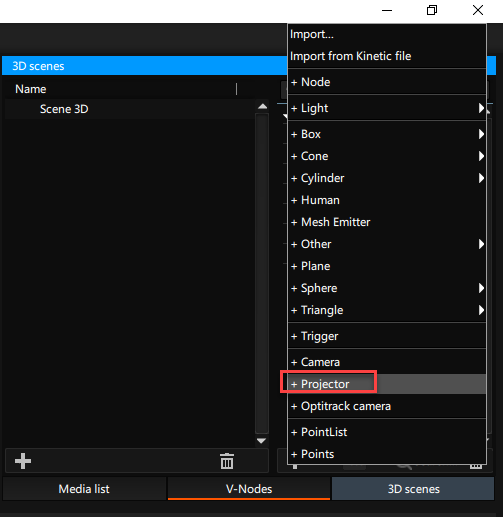
- In the 3D scenes window, click on + Projector to add one
- Stop the Tracking on the tracking group
- On the Editor tab, click on Projection calibration in order to prepare the cameras
![]()
Prepare the V-Node server
- From V-Nodes > Remote Settings > AMD, prepare the EDID and EYEFINITY for your output
- Add a V-Node into Kinetic Designer, declare its address, create a Render Surface, and affect it to the V-Node
- Online the V-Node
- Add a classic Output
Perform the projection calibration
- Select the Output
- In the Editor tab, click on Advanced > Autocalib. 3D
- From the 3D Scenes tab, drag & drop the projector into the Proj. reference field
- From the KineMotion tab, drag & drop the “TRACKING” group into the Tracking group field
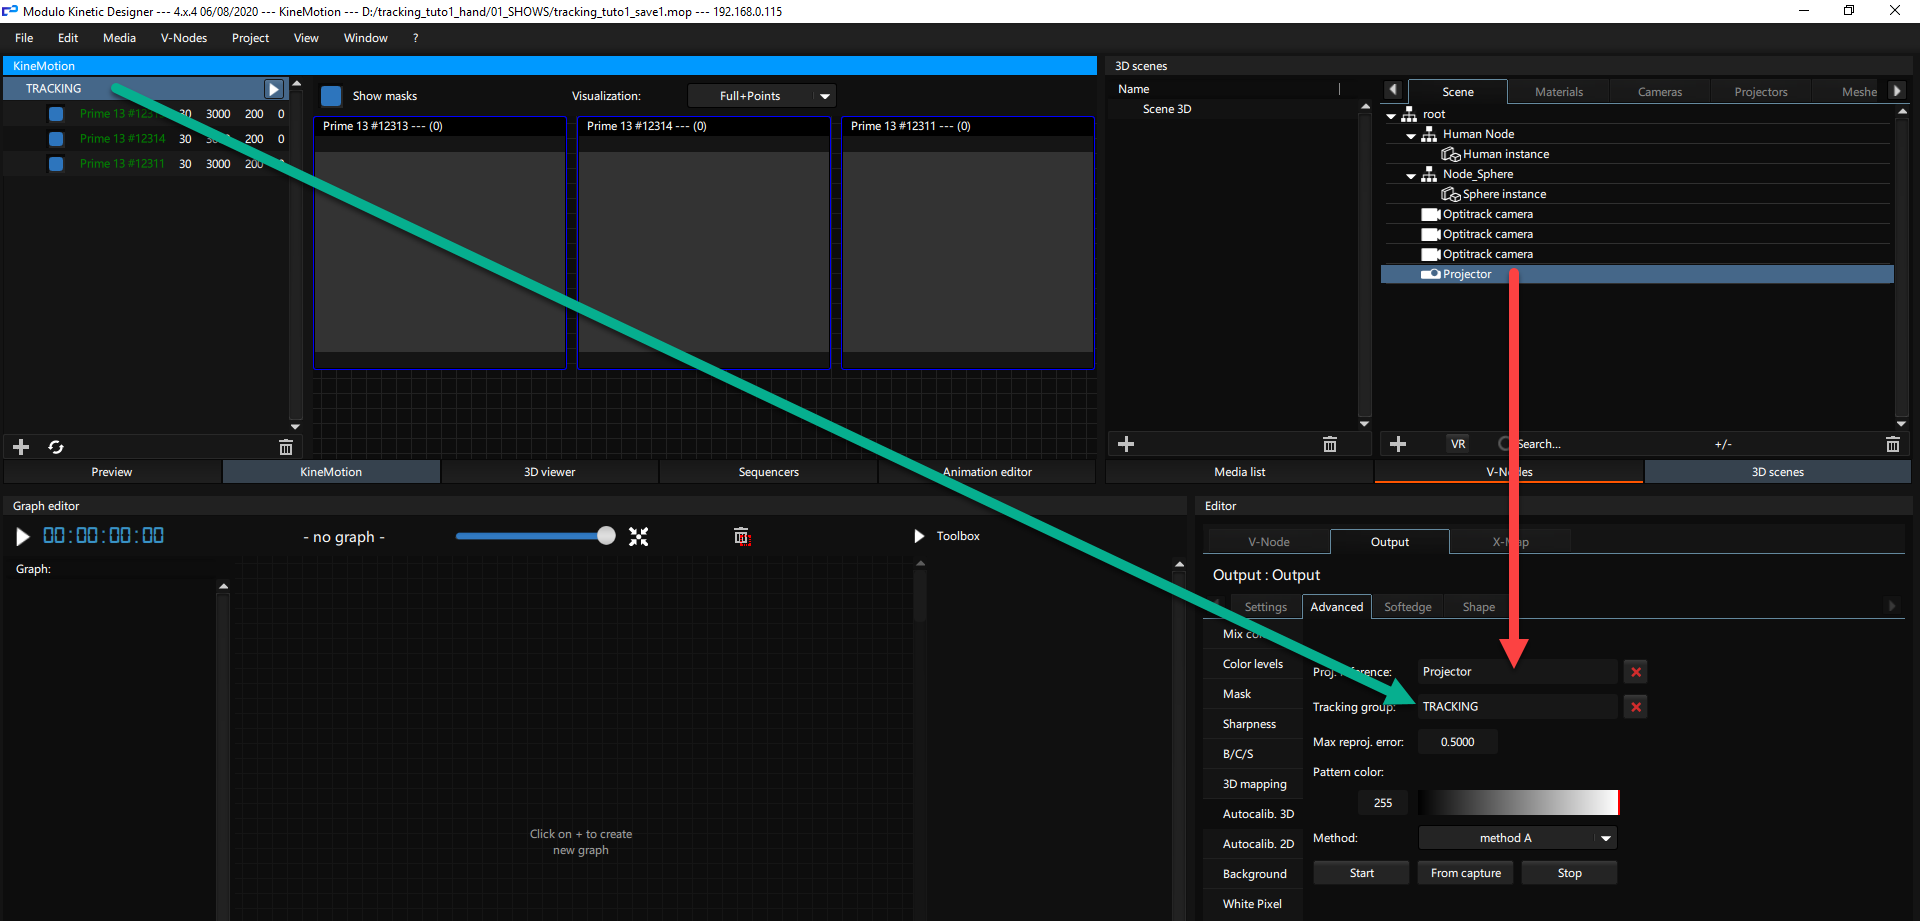
- Depending of your light environment, you can adjust the Pattern color value
- When you are ready, press the Start button
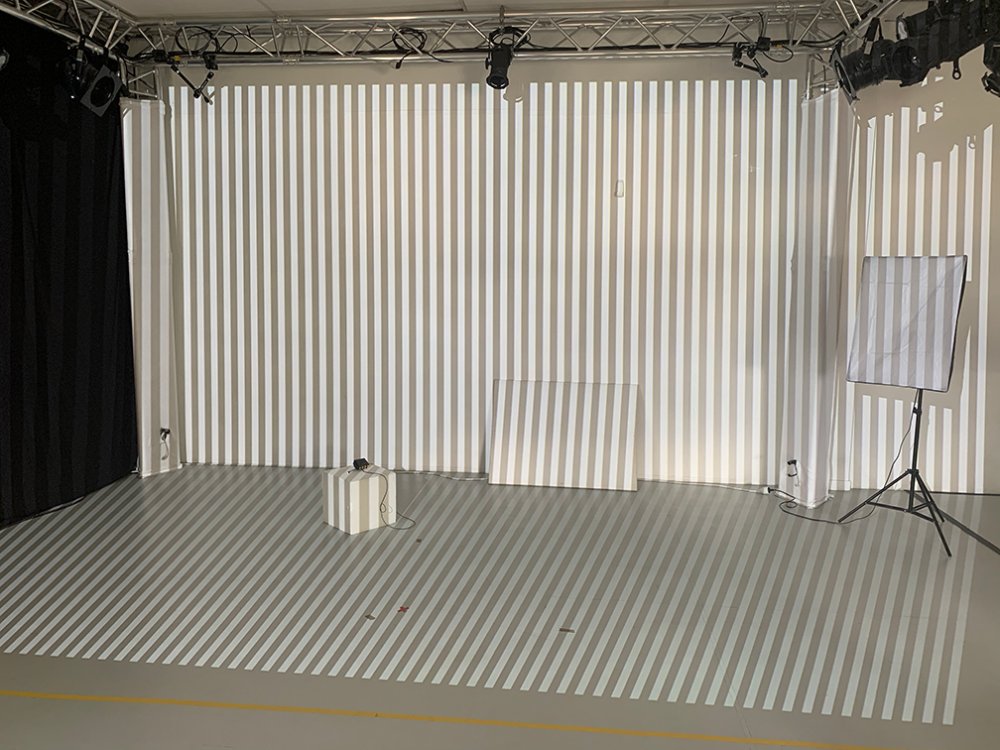
- Modulo Kinetic Designer will project patterns on the video projector, and will use these pictures to perform the calibration
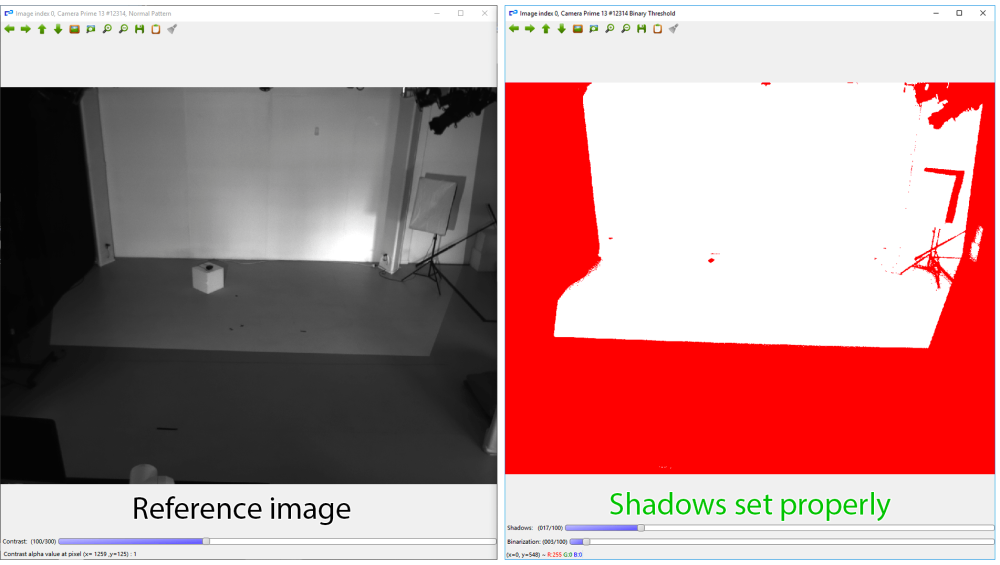
- Two windows will pop-up for each camera
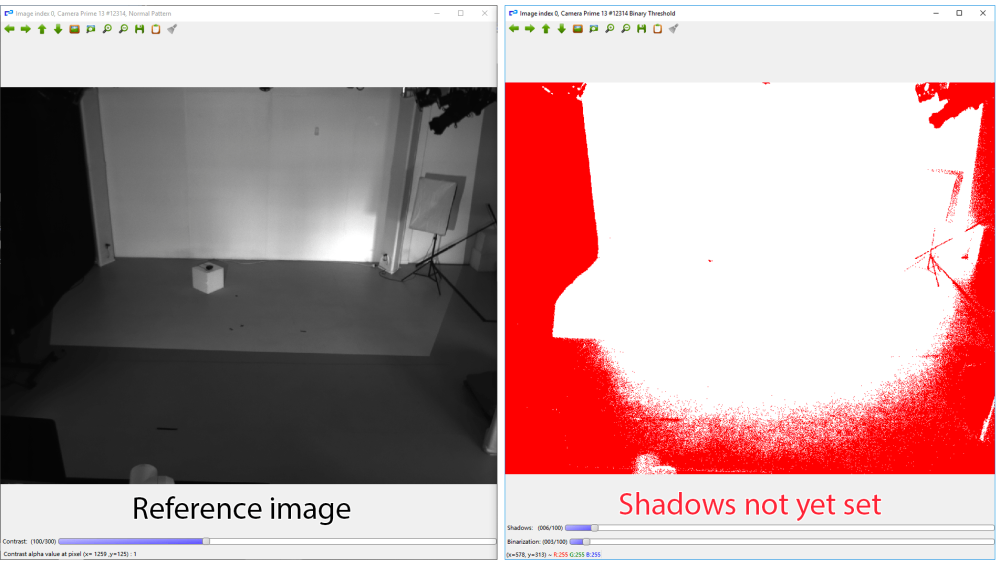
- Adjust the Shadows value to only highlight the light coming from the video projector. Be careful to avoid undesirable light
- Press Enter on the keyboard a first time
- Press Enter one more time
Once the 3 cameras are set up, Modulo Kinetic Designer operates the calibration of the video projector.
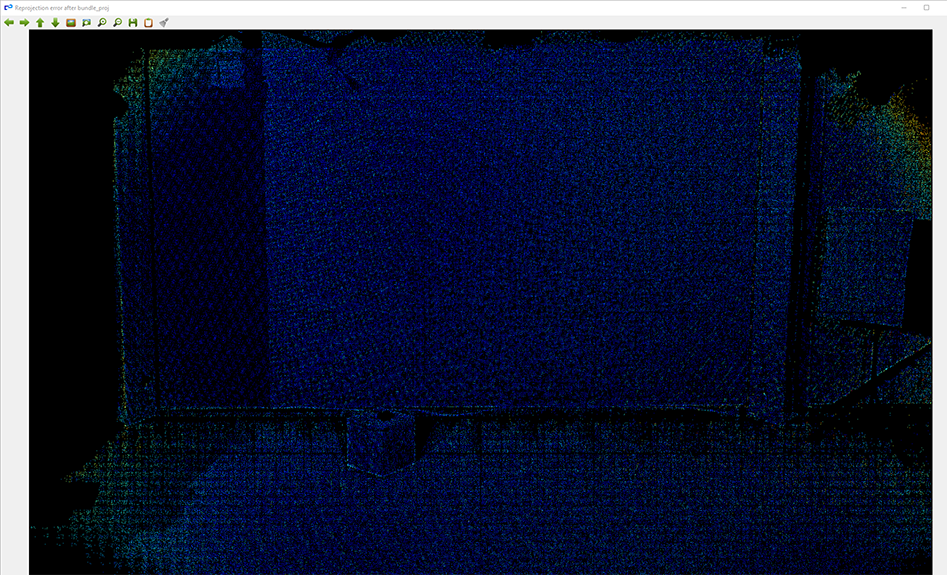
- A pop-up window per camera will appear
- The more the area is cold (blue), the more precise is the calibration
- The more the area is hot (red), the less precise is the calibration
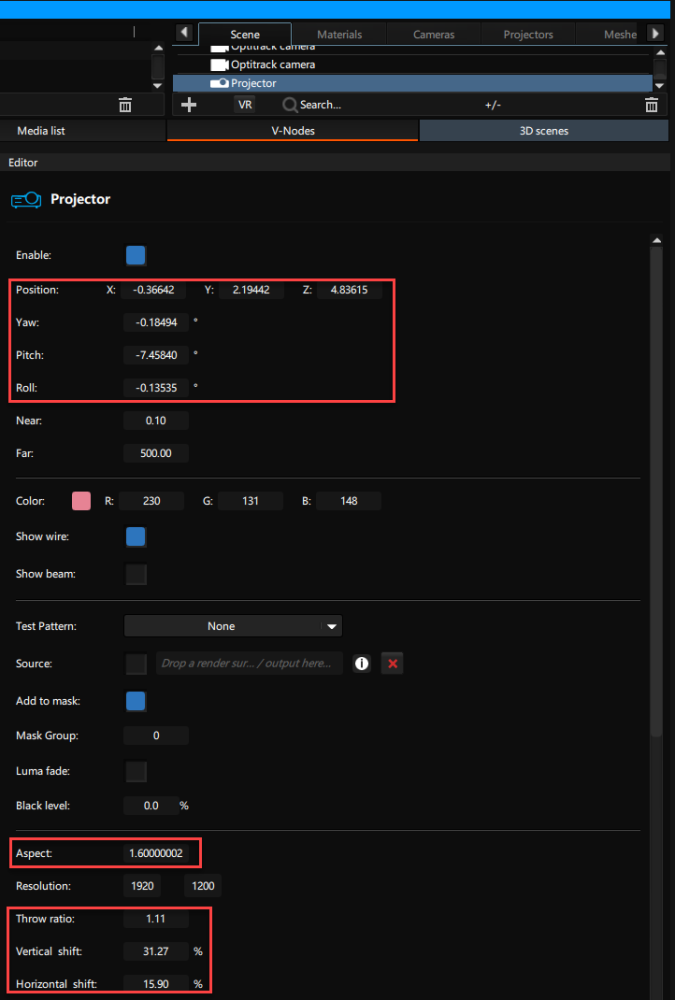
- Press Enter, and Modulo Kinetic Designer will determine the position XYZ in the 3D, the Yaw-Pitch-Roll, the Aspect ratio, the Throw ratio, the Shift HV
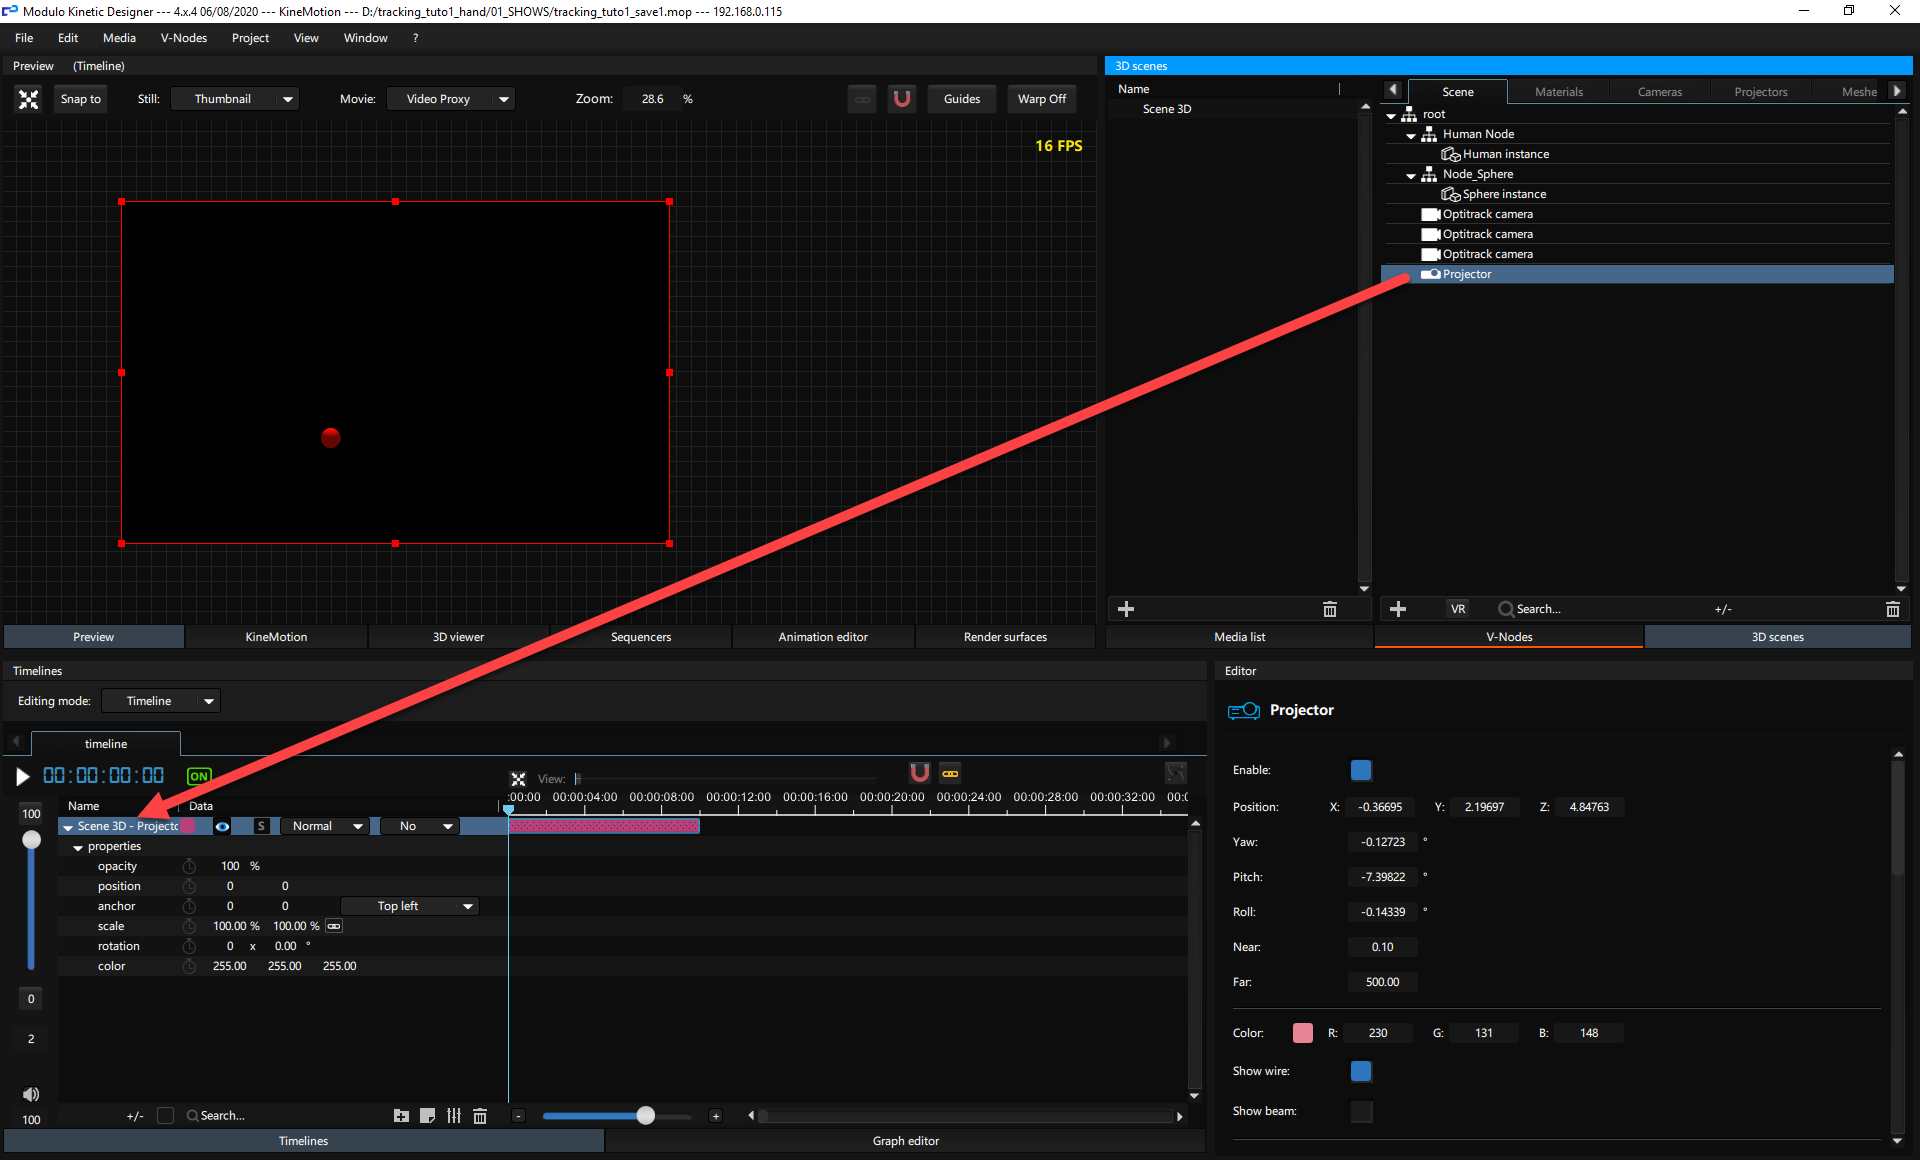
- Drag & drop the projector from the 3D Scenes into the timeline. You should see the projector point of view.
- Perform a Control-O to Online the V-Node
- Take the LED point we track, and move it on stage. The Sphere should be projected and follow your movements.
Check the calibration precision
- In 3D Scenes, click on +Mesh Emitter
- In Graph Editor window: * Click on + then add a +Compute
- From KineMotion, drag & drop the TRACKING group into the Graph Editor
- From 3D Scenes, drag & drop the Emitter3d instance into the Graph Editor
- Link the dataRemap of the TRACKING group to the Emitter3d instance
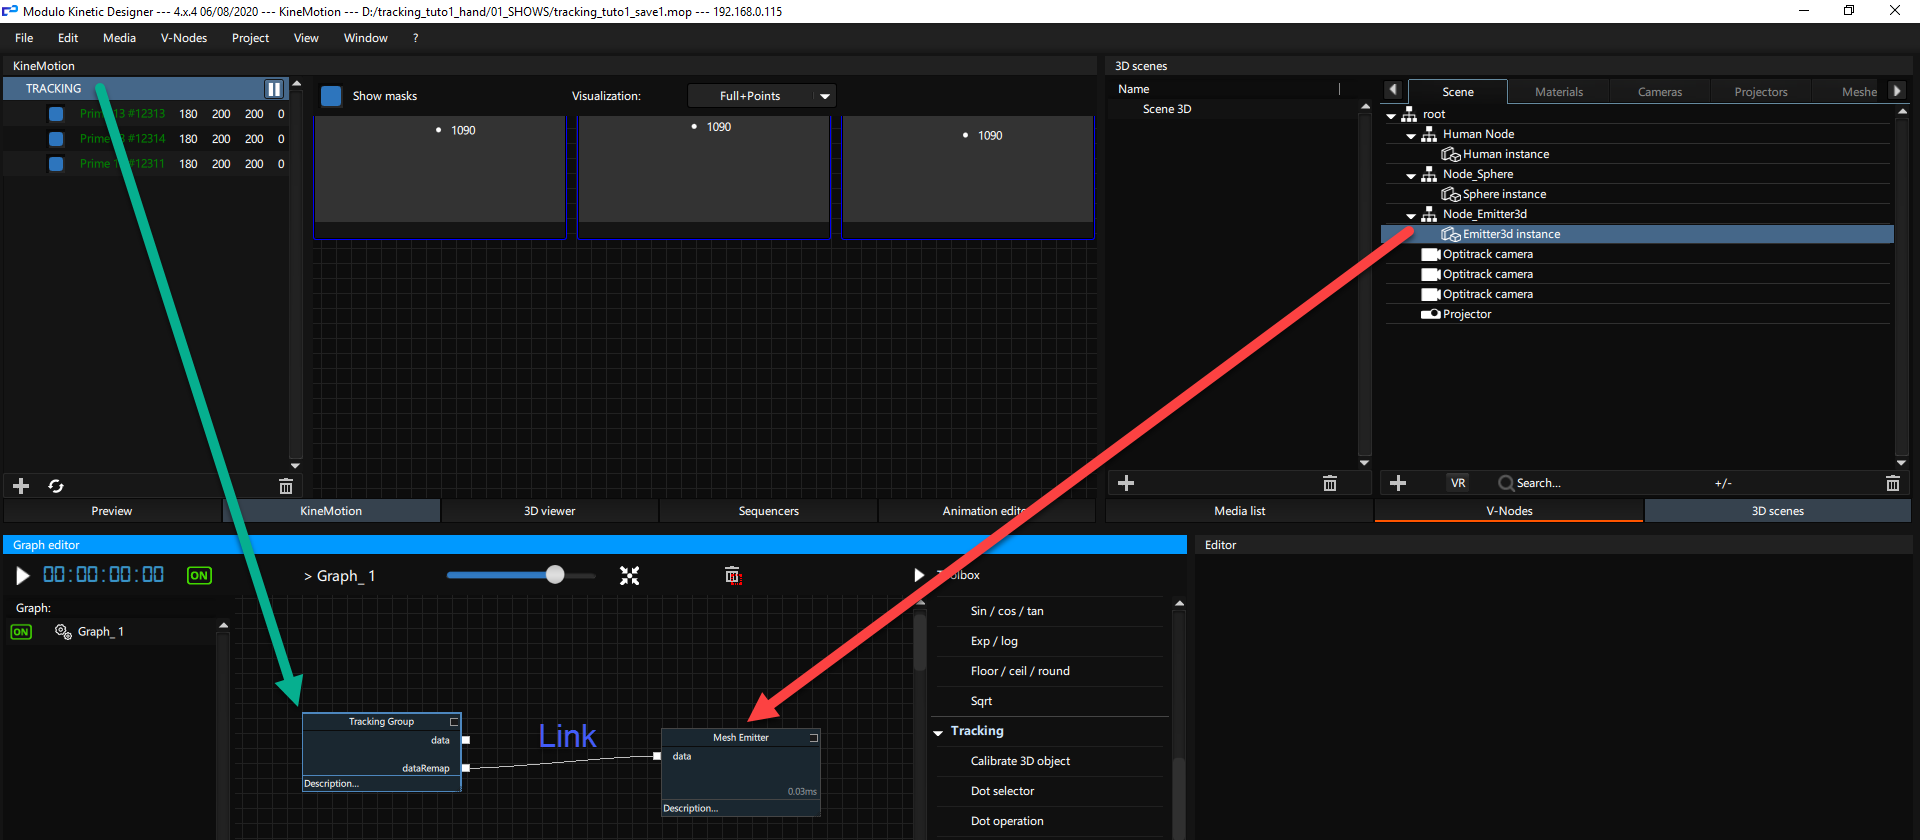
- This will display a particle for each Point/LED we have in our Tracking. Here is a snapshot to remind you:
- You should now see the particle point projected

Need more help with this?
Don’t hesitate to contact us here.