
In this tab, enable advanced features for the selected layer.
Enable the features by clicking on the blue checkbox button.
Advanced features are: Color, Mask, Crop, Clip, Border, Drop Shadow, Frame Edit.
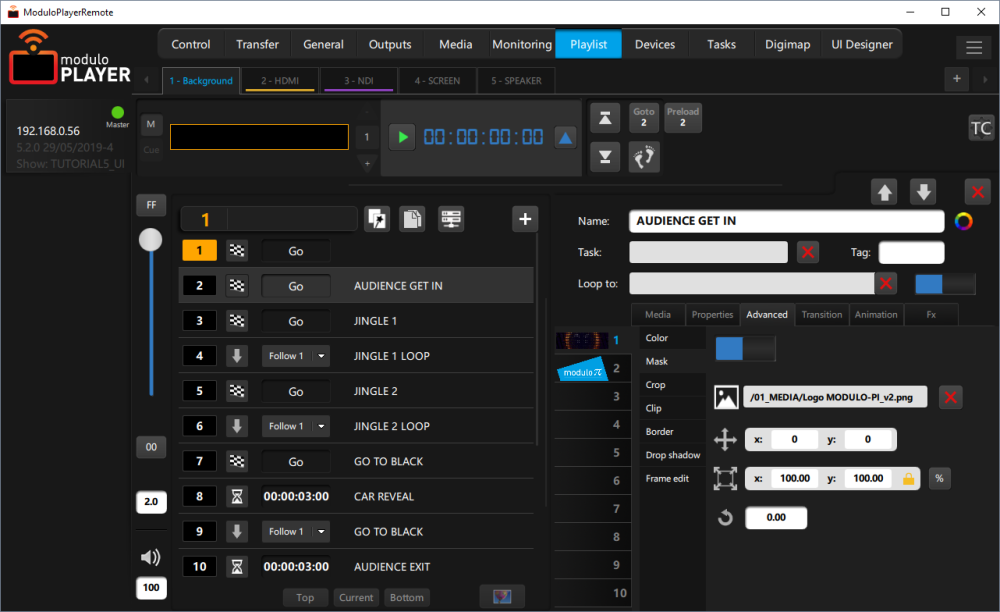
Color:
![]()

Adjust the color levels for the selected layer. You can adjust the global level as well as per channel.
You can also configure brightness, contrast and saturation. You can animate these values with the animation tab (this wil only work if the color feature is enabled)
Mask:
You can add a mask using a still png picture. Then the alpha will be used as a mask:
The transparent parts of the mask will hide the media where the filled ones will reveal it (regardless of the color).
By default the mask position is relative to the media. You can change its position, its scale (in pixels or percentage) and its rotation.
Crop:
Enables the crop function in order to apply a crop on each side of the media.
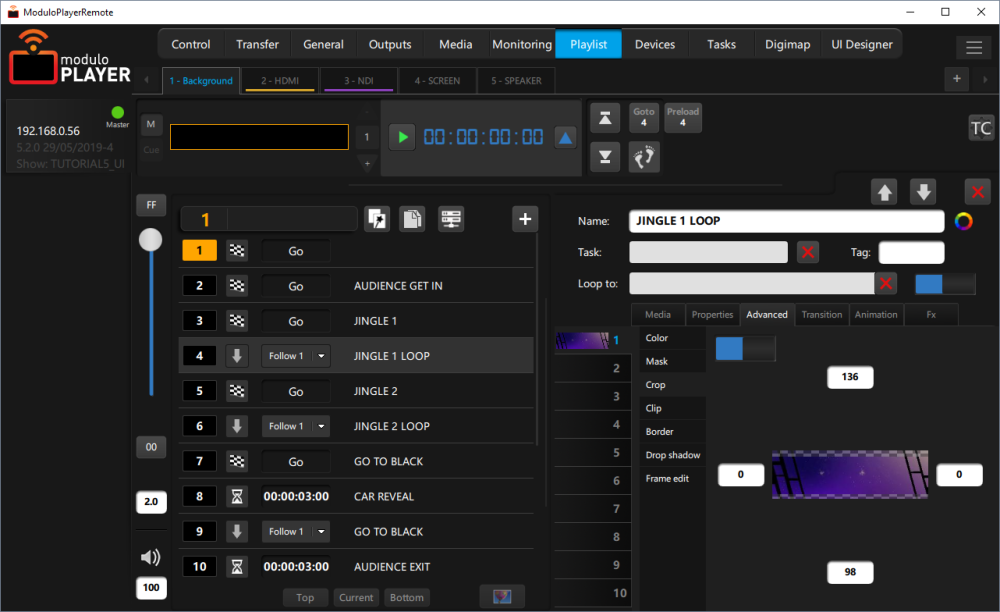
Clip:

Allows to see the media only in a subpart of the pixel workspace.
To do this:
• Enable the function
• Set the starting pixel of the Clipping
• and the size of the clipping area
Border:
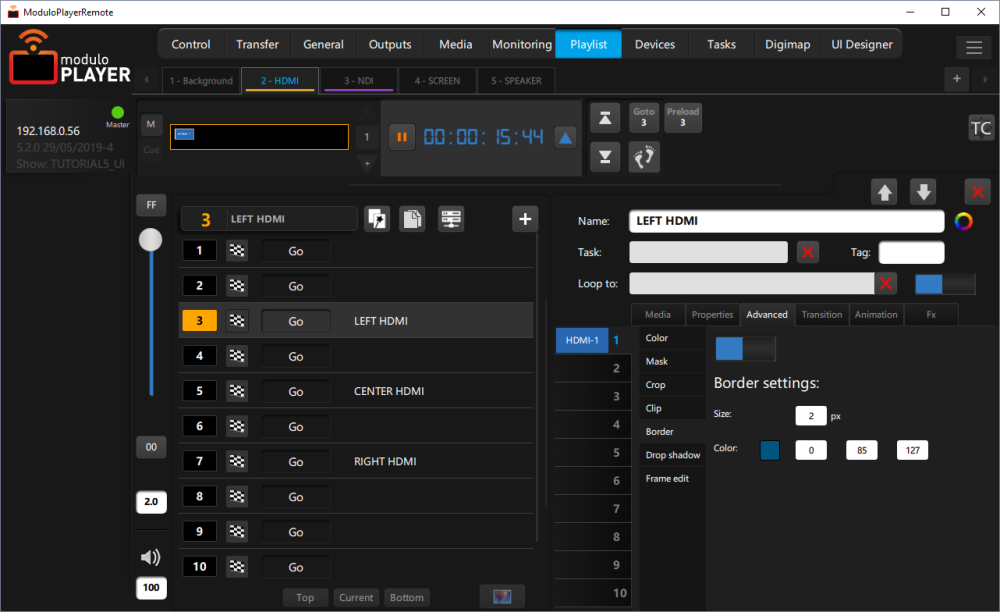
You can add a border to the media.
To do this:
• Enable the function
• Select the size of the border in pixels
• Choose a color for the border
Drop Shadow:

You can create a shadow effect on the selected layer.
To do this:
• Enable the function
• Set the angle of the shadow
• Set the distance from the media in pixels
• Set the spread in pixels
• Set the color in RGB values
• Set the opacity of the shadow
Frame edit:

You can change the speed of a movie media on the selected layer.
• Use < or > to speed Down or Up 0.1%.
• Use << or >> to speed Down or Up 1%.
• Click on Reset to return to normal speed
You can activate the frame blend option to allow a smoother playback when you change the speed of your movie or to improve the playback when your video framerate doesn’t match with the graphics card framerate.
Need more help with this?
Don’t hesitate to contact us here.