

On the top of this panel you will find all the elements concerning your 3D scenes

| Current scene | select the 3D scene from the dropdown list |
|---|---|
| edit the 3D scene parameters | |
| add a 3D scene | |
| delete a 3D scene | |
| acces to more actions: duplicate a 3D scene, or export a 3D scene | |
 |
activate the rendering in a VR headset |
Export
You can export your 3d scenes in one of the following formats:

By default, the exports are made in Collada (.dae).
You will have the following export options:
 |
| Meshes | exports all geometry |
|---|---|
| Materials | exports all materials |
| Lights | exports all lights |
| Projectors beam | exports only projector beams |
| Projectors as mesh | exports only the projectors as boxes |
| Cameras as mesh | exports only the cameras as boxes |
| Projectors as real camera | export the projectors as cameras compatible with other 3D software |
| Cameras as real camrea | export the cameras as cameras compatible with other 3D software |
Scene parameters
In the scene edit panel ![]() you will find the following items:
you will find the following items:

| Name | 3D scene name |
|---|---|
| Locked | locks the scene, it can no longer be edited |
| Culling | |
| Show in designer | enable if you want to render the scene in the Designer 3D viewer |
| Trigger area enable | activates the area triggers (OFF by default, requires more calculation) |
| Sun enable | activates a default light source in the scene |
| Sun angle | (0-180) angle of incidence between the default light source and the ground in degrees (90 by default, zenital light) |
| Sky color | color of the sky when it is displayed in one of the views |
| Env. map | see below |
Environment map
Environment map, or reflection map, is an efficient image-based lighting technique for approximating the appearance of a reflective surface by means of a precomputed texture image.
The texture is used to store the image of the distant environment surrounding the rendered object.
In Kinetic this environment map is in the form of an unfolded cube. This unfold must be in 4:3 or square format.
 |
 |
With the two textures above we obtain the following results (no light has been modified):
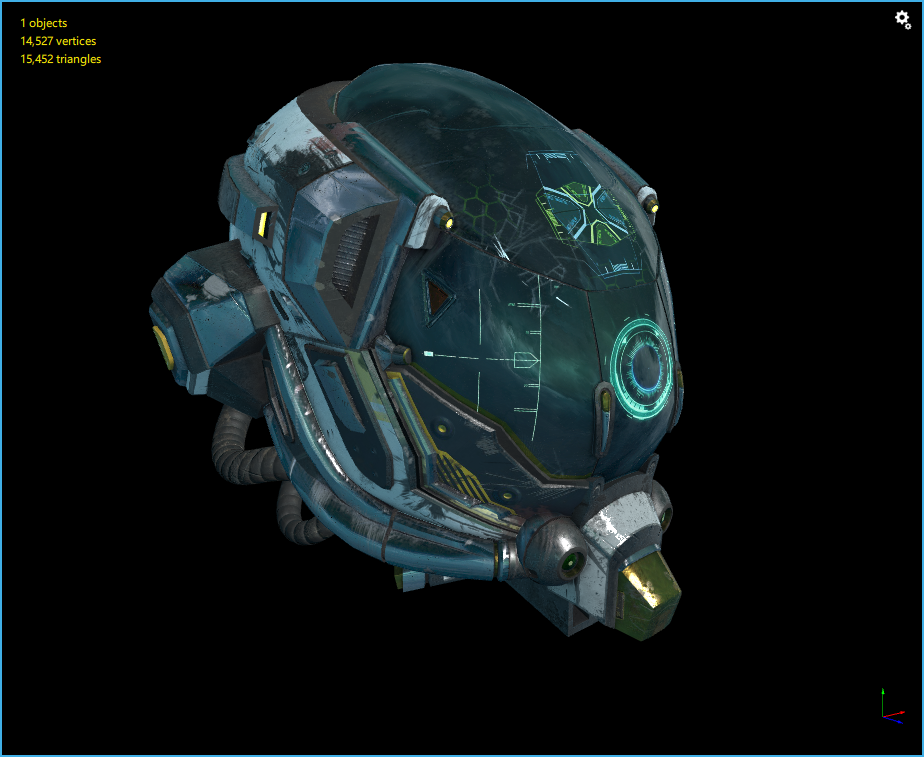 |
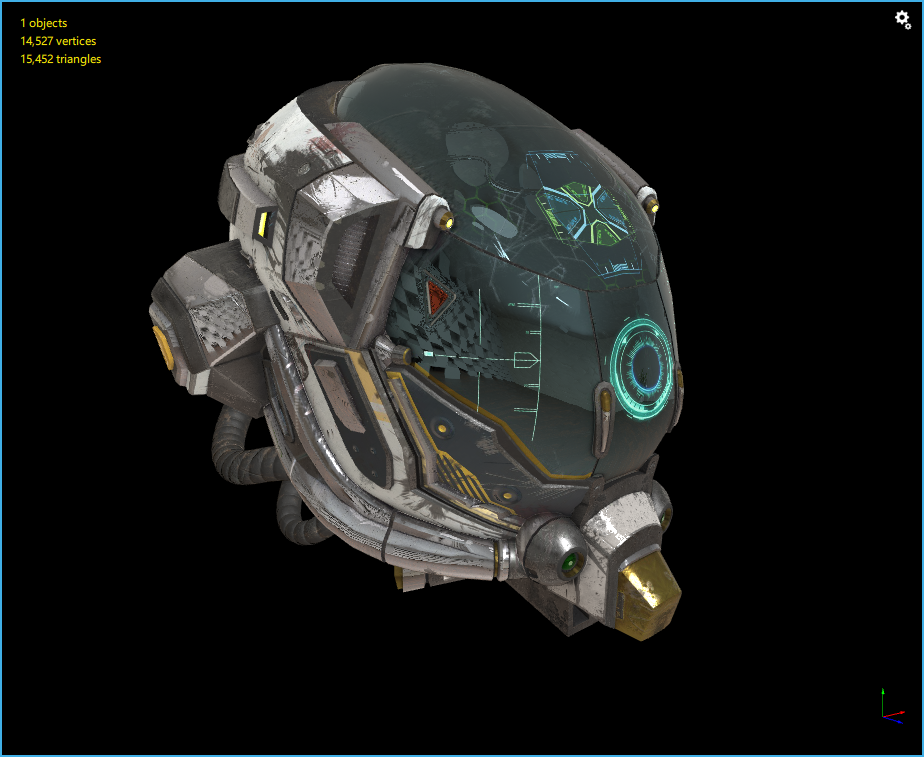 |
There is a very clear change in colors in addition to the change in reflections.
To modify this environment map, you must click on your scene in the 3D Panel to display its editor. You will then just have to drag and drop an image from your explorer directly into the “Env. map” field.

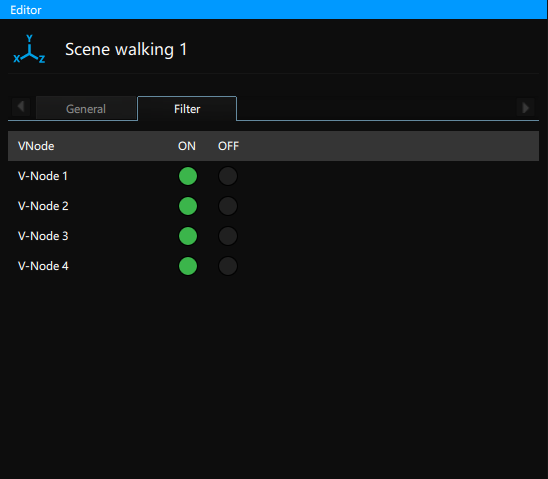
Filters
In the editor of your scene there is a tab to filter its upload/download in the VNodes. By default all scenes are sent to all servers.
These filters work the same way as the media filters.
In the tabs just below the top, you will find everything that makes up the current scene

| 3D Hierarchy | list of parent/child nodes that organize your scene |
|---|---|
| 3D Materials | list of colors/textures/shaders that allow to render the scene |
| 3D Cameras | list of existing cameras |
| 3D Projectors | list of existing projectors |
| 3D Meshes / Instances | list of geometry in the scene |
| 3D Lights | list of existing light sources |
| 3D Animations | list of existing animations |
| 3D Skeletons | list of existing skeletons |
| 3D Dimensions | list of existing dimensions |
| 3D Annotations | list of existing annotations |
VR
Once intalled, run Steam VR on the Designer.
Click on button to display in VR headset the selected camera.

| Show envmap | enables to render the envmap in the VR headset |
|---|---|
| Render | defines the type of rendering: “Fill” (by default) renders the scene normally, “Wireframe” renders the scene only with the edges of the meshes |
| POV | select the camera point of view you want to display |
| FXAA |
Need more help with this?
Don’t hesitate to contact us here.