
Beforehand, ensure you that :
- The camera is connected on the same network as the Designer and in the same IP address range.
- The camera is powered with POE++
First you have to activate the camera tracking data output.
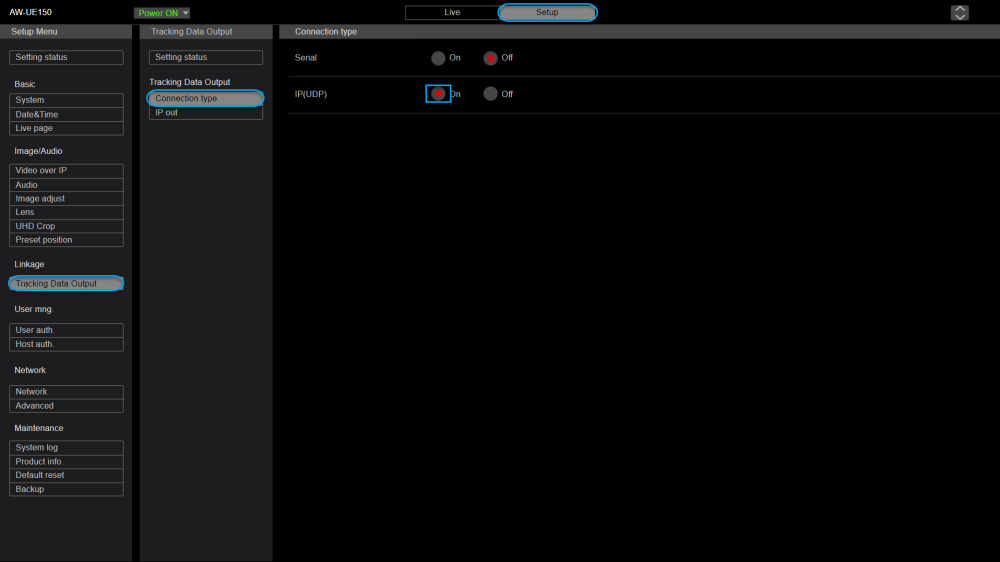
- Access camera settings via your web browser.
- Go to Setup/Tracking Data Output/ Connection type and set IP(UDP) On.
- Go to IP out , activate Client1 and type the Kinetic Designer’s IP adress and the port number (Kinetic uses Port 11311 by default)

- Go to the tab SETUP > System > Format > set the resolution to 1920×1080p50

Set the Focus, Zoom, White Balance
In this tutorial we won’t go in depth detail in the specific camera settings.
However, before going foreward, ensure you the camera is well set :
- Adjust the lighting of your studio
- Adjust the zoom with the desired field of view
- Adjust the Focus and be sure the Auto focus is OFF
- Define a fixed White Balance
Need more help with this?
Don’t hesitate to contact us here.