
At this point, if you pan the Panasonic camera over the green screen you don’t see anything than behind the scenes.
Using the XR possibilities of Kinetic Designer, we are able to extend the scene over the green screen limit.
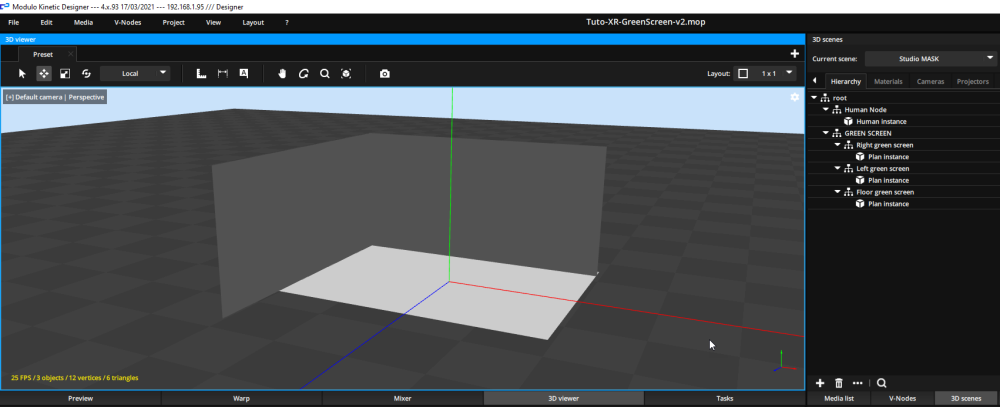
- In the 3D Scene, on top click on + to add a new 3D Scene and rename it “Studio mask”
- In the 3D Scene, add 3 planes to build the shape of your green screen that represents your studio
Adjust the width/height of the planes
In our situation, the floor of the green screen is about 4,30m x 2,80.
The wall of the green screen has a height of 2,50 meters.
- Floor green screen 4.00 × 2.60
- Left green screen 2.60m x 2.20
- Right green screen 4.00m x 2,20
- Create a new Material, set the Diffuse to full white 255,255,255
- Set it to Emissive
- On all the 3 planes define the white Material you just created
This camera now see the 3 planes in a full white color, and everything outside these planes is black.
You can use this black and white content to make a mask of everything that is outside the green screen.
Create a 3D camera in this scene and link it to the Find pose calibration
- Create a 3D camera and rename it Camera Mask
- Click on the Device Camera AR Panasonic UE-XXX FreeD
- Drag and drop the 3D camera into the camera field of the Camera AR Panasonic UE-XXX FreeD device
Use this 3D camera as a mask on the camera live feed
- Drag and drop the 3D camera below the Deltacast layer in the Timeline
- Set the Mask of this 3D camera layer to Grey
- Select this 3D camera layer and set Distortion mode : KINETIC in the Editor tab
- You can move the Panasonic camera using the Pan, Tilt, Zoom and see now that when you go over the green screen that your 3D scene appears
You studio is now extended.

Need more help with this?
Don’t hesitate to contact us here.