
Use this function if you want to use a camera not listed in the drop down menu or if you want to adjust the lens calibration of your Panasonic UE-150 according to your installation.
To do this, you will need to print a calibration pattern on a rigid plate.
We recommend to use an assymetrical circular pattern (19 rows 27 col)

 |
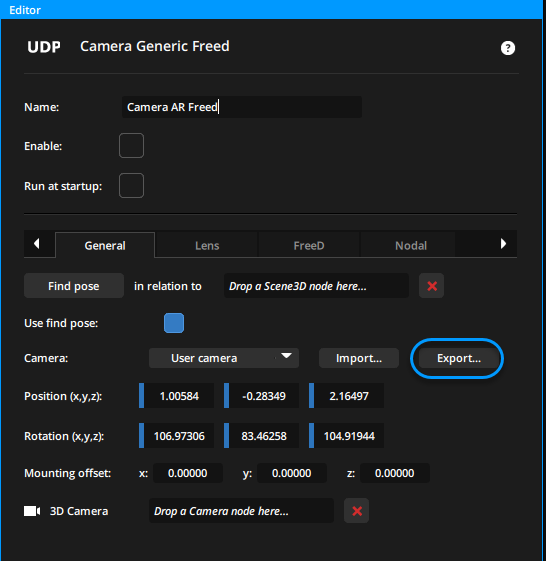
Add a new device Camera AR FreeD and select User camera in the drop down menu.

Then go to Lens tab and click on calibrate

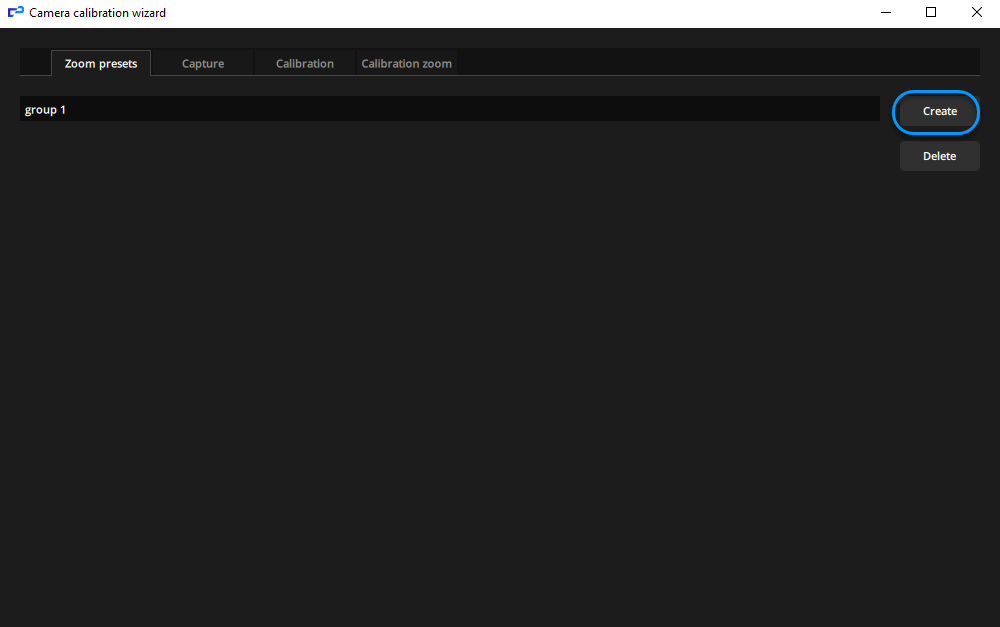
Zoom preset:
On your camera set the zoom value at 0 and click on Create to add new zoom preset. You can rename this preset by double clicking on it.
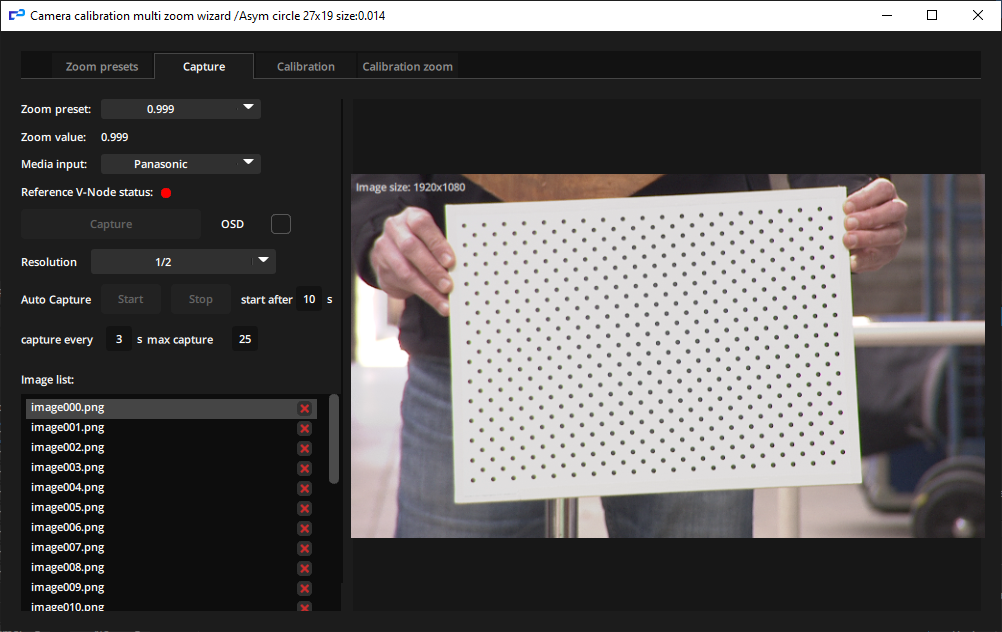
Capture:
Go to Capture tab and select the zoom preset you have created and the Media input corresponding to your camera.
Place the calibration pattern at the right distance to cover around 50% of the total picture.
Adjust the focus and click on Capture button.
Make differents captures with many differents positions and orientations of the calibration pattern. Do not do all patterns with the same orientation, you will have a wrong calibration.
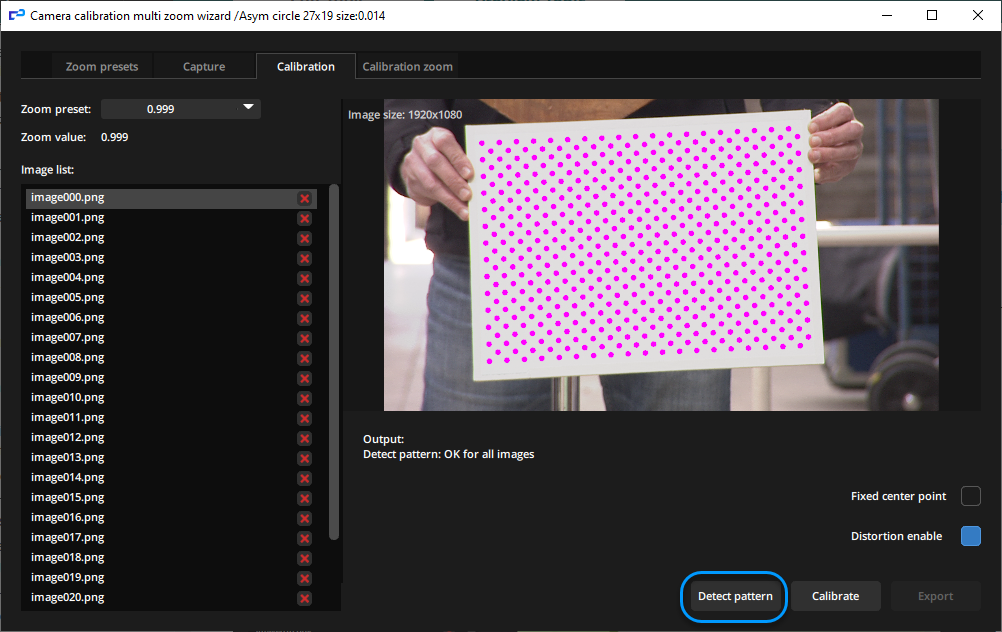
Calibration:
In the Calibration tab, click on Detect pattern button. The system will detect automatically the pattern for all the captures you made.
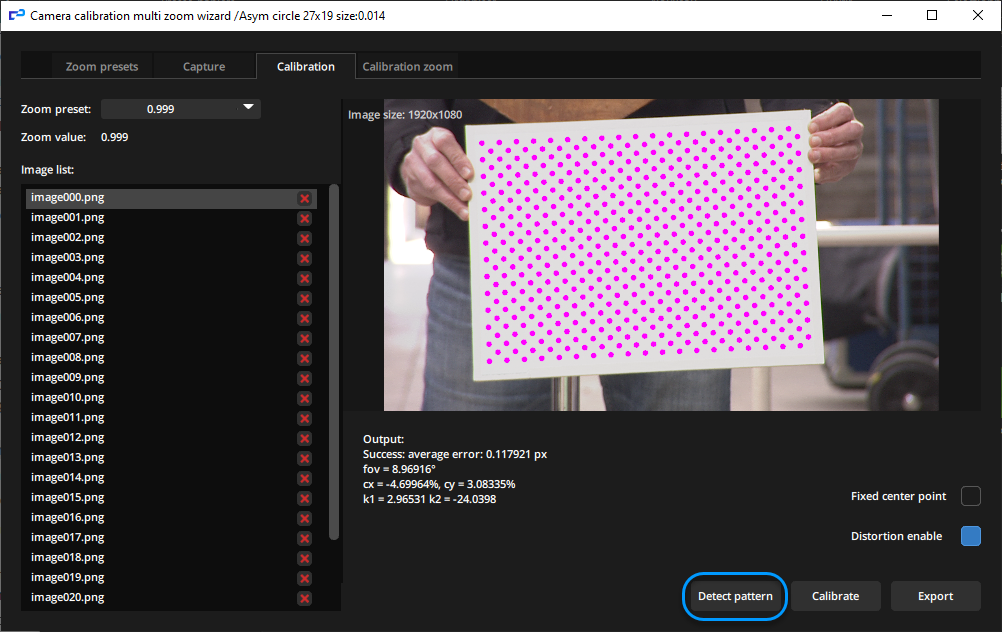
Then click on Calibrate. The system calculate the field of view and the lens distortion parameters for the zoom preset value.
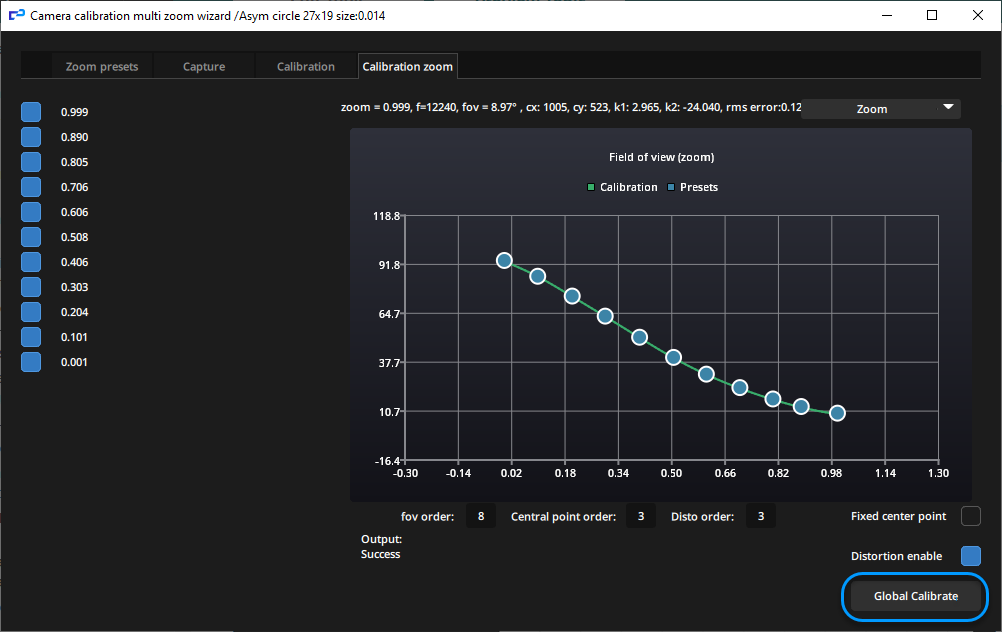
Calibration zoom:
Once you have made captures and calibrations for different zoom values, you can click on Global Calibrate. The system calculate the curves of the field of view and the distortion parameters according to your zoom presets.
You can save your lens calibration into a file by clicking on Export button.
Need more help with this?
Don’t hesitate to contact us here.