
On this panel you can display the 2D preview. it’s an infinite blackboard where you can see all the render surfaces and the media you have added in the timelines.
You can use the right click and movement of the mouse to navigate in the view.
You can use the wheel of your mouse to change the scale of the preview. It’s possible to enter a numerical value in the zoom field.
You can move and scale the content with the left click of the mouse.
It’s not possible to change the position and scale of the render surface to avoid any accidental move.

Snap to:

When you want to quickly have an overview of all render surface, click on the first left icon.
Click on the “snap to” button to have quick zoom on a specific render surface.
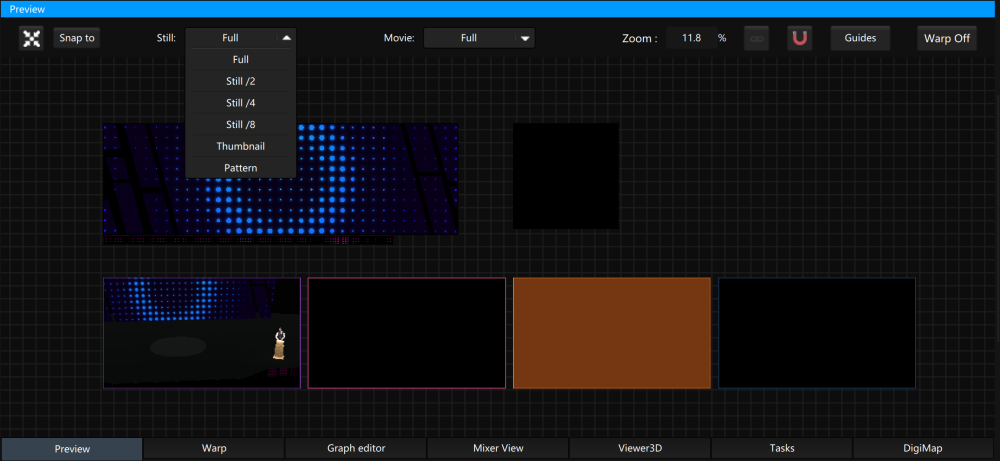
Rendering options:
It’s possible to define rendering options of the still and movie content in the Kinetic Designer application.
You can adjust the rendering options to choose the best compromise between quality and a smooth playback (When you have a large number of connected VNode, the Kinetic Designer need to display the content of all theses VNodes and possibly a very large number of media to playback simultaneously).
Use the left combobox to define the rendering behavior of still content in the Kinetic Designer application |
| Full | display still images in native resolution |
|---|---|
| Still /2 | display a downscaled by 2 still image version on each axis |
| Still /4 | display a downscaled by 4 still image version on each axis |
| Still /8 | display a downscaled by 8 still image version on each axis |
| Thumbnail | display a thumbnail still image version |
| Pattern | display a pattern version of the still image |
Use the next combobox to define the rendering behavior of movie content in the Kinetic Designer application:
| Full | display the movie in native resolution |
|---|---|
| Video proxy | display a downscaled version of the movie (You need first to activate this feature in the top menu Project/Media/Movie proxy enable and choose a downscale level. After activating this feature, the Modulo Kinetic Designer will need some time to do a background encoding of the downscaled version). |
| Thumbnail | display a thumbnail still version |
| Pattern | display a pattern version of the movie |

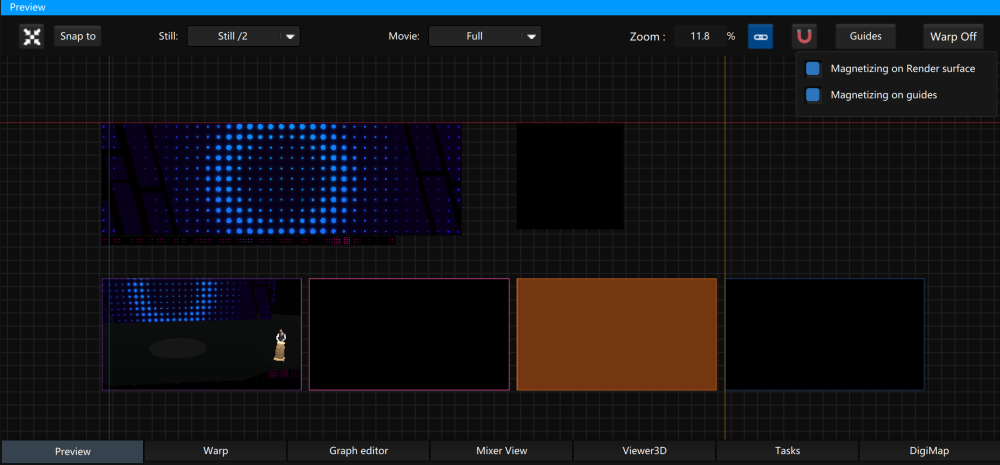
Magnet options:
if the lock icon is enabled, when you click on a media in the timeline, an automatic scroll in the timeline view will allow you to display the corresponding layer.
after clicking on the horseshoe shape icon, a popup menu will appears. You can choose some option:
Magnetizing on render surface: when you move a media in the preview, if the option is enable, the media will automatically magnetize when you move the media near a render surface.
Magnetizing on a guide: when you move a media in the preview, if the option is enable, the media will automatically magnetize when you move the media near a guide.
Guides setup:
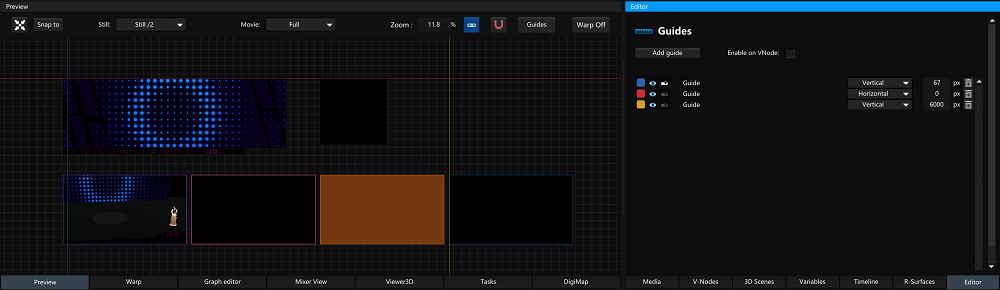
If you click on the guide button, the editor will display the setup panel. You can create, edit and delete guide.
For each guide, you can define if it’s a vertical or horizontal guide, the name, the visibility in the preview, the visibility in the VNode (enable on VNode need to be check) and the position of the guide in the preview.
It’s possible to use the magnetize option to magnetize media near a guide.
Warp button:
this button allows you to switch to the warp mode. If you have activated the warp property in the advanced tabs in the editor of the layer, you need to activate the warp mode to edit the control points of the warp grid.
Need more help with this?
Don’t hesitate to contact us here.